So after getting a few quotes for fitting a rear screen, I decided to take on the challenge and show you how I fitted mine, or should I say Claires
First of all I gave it a bit of a wash,
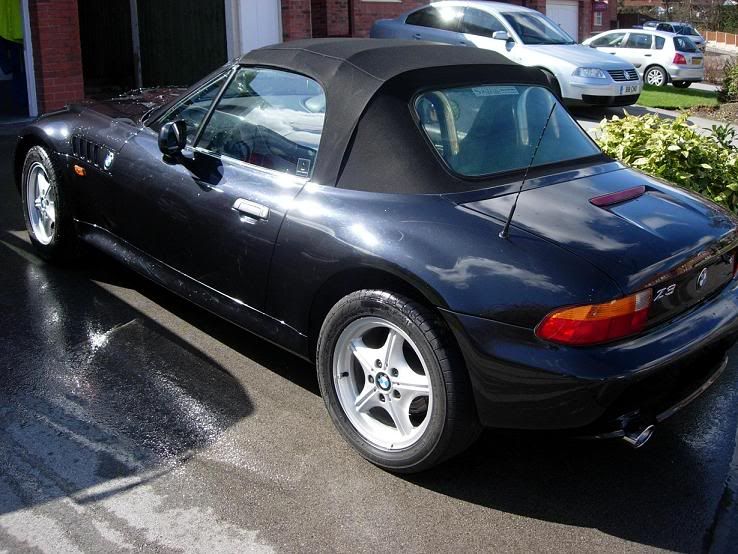
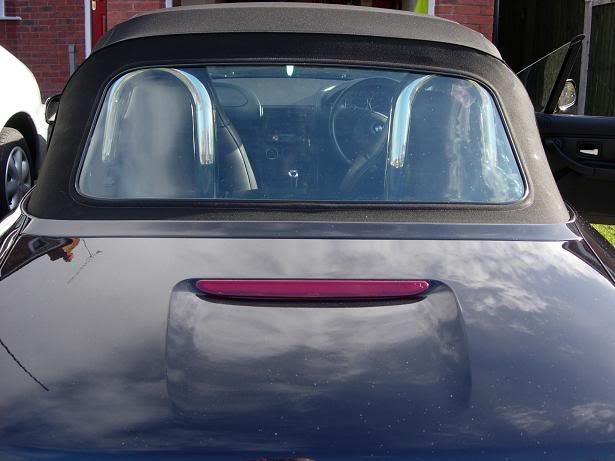
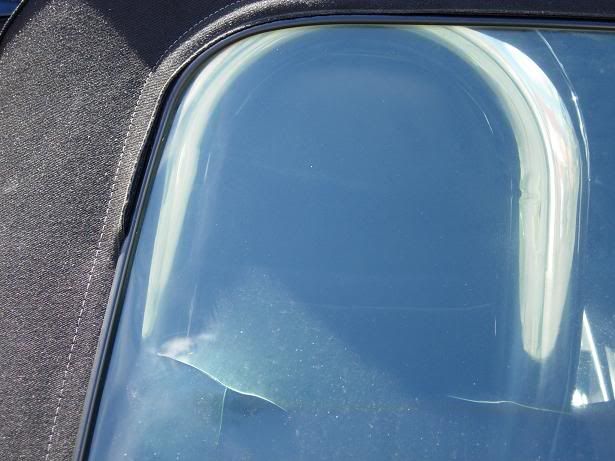
just a quick one on the drive way, Now to show you the reason why it needed changing
So after getting some useful documents off Les I started, first I waited till the weather was a bit warm, then I removed the roll bars
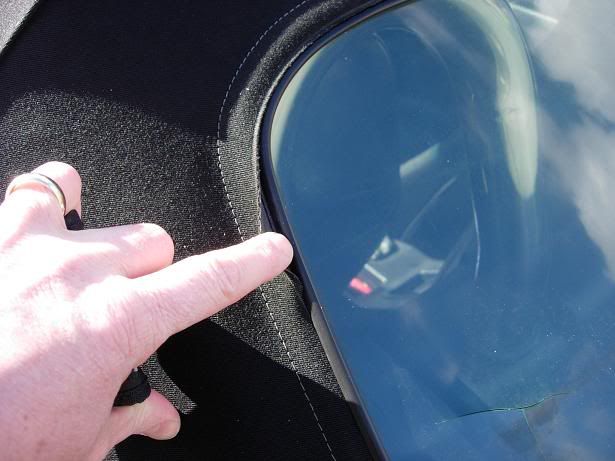
Then putting the hood back up, but not all the way, I lifted the cloth around the old screen
once done I moved inside and removed the fastener holding the zip together.
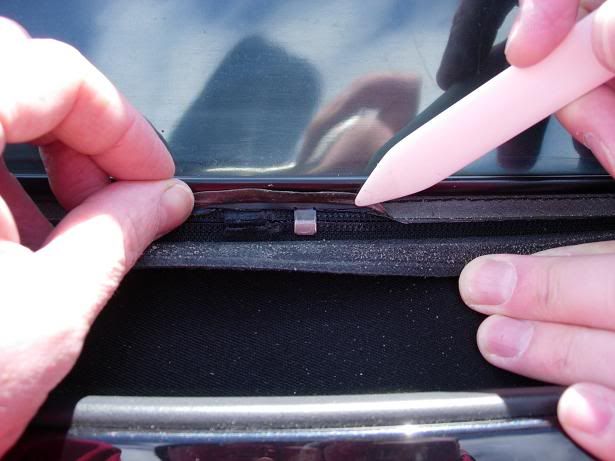
Once this clip was removed with the help of a screw driver the window was pushed in very gently in a anti-clock motion following the zip line.
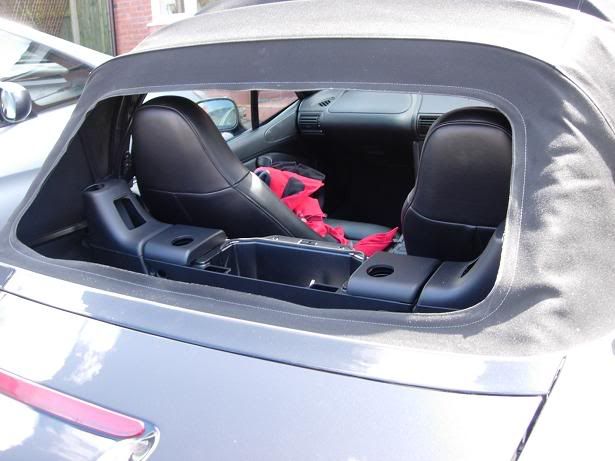
This now left a big hole that needed to be filled before the rain came, so next thing to do was get the new screen in place and locate it. You get an allowance of 1 notch either way so don't continue if this is any more!!!
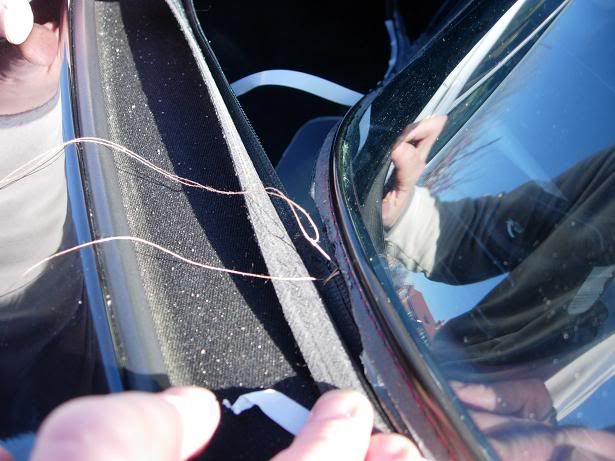
so that it didn't come apart I stitched the start with some thread and started to zip the window up. From inside the car the fastener travels in an clockwise motion with the fastener on the inside. Once you come full circle the zip overlaps the top piece, keep the fastener in place and then push the staples through from the outside/(locking the zip in side) in wards and then fix the second part over the spikes and fasten down with a screw driver but be careful you dont slip!!! you get two clamps so use them both.
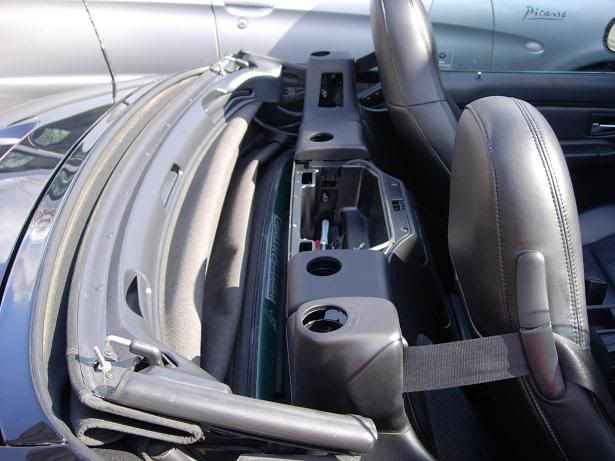
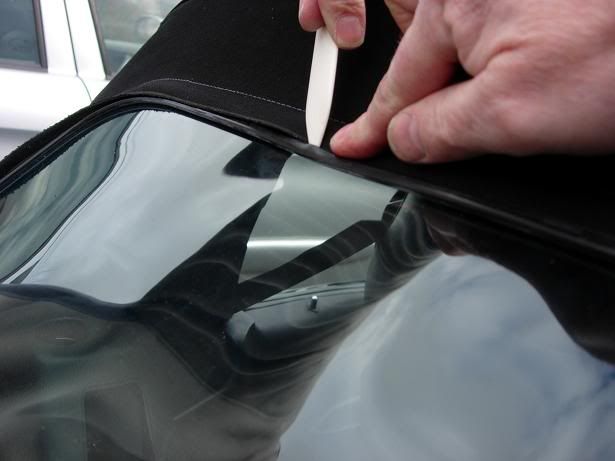
Now all that was left was to fasten the new clips in and return the edge of the cloth into the rubber seal around the screen.
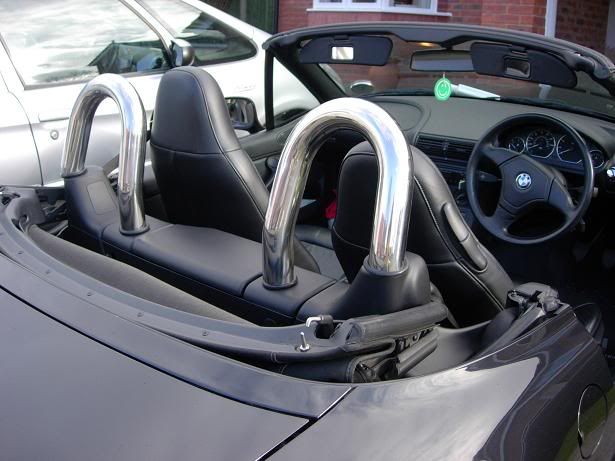
Once this was done it's now a case of putting back the roll bars and job done.
And now here is the car with the new back screen.
saving money, fitting a rear window your self
Last edited by flipside on Tue 11 Apr, 2006 21:44, edited 5 times in total.
Well done Flipside.
you're a braver person than me.
If anyone else wants the instructions from the TIS I have scanned them into pdf format.
Email me at abbottleslie@aol.com and i'll send them to you.
Regards Les
you're a braver person than me.
If anyone else wants the instructions from the TIS I have scanned them into pdf format.
Email me at abbottleslie@aol.com and i'll send them to you.
Regards Les
This Orinoco doesn't Womble.
Excellent Flipside, thanks.
I've still got the same job to do on my 323i.
I was just about to start last Sunday when the rain and hailstones came....
How long did it take?
My instructions say you need two pairs of hands but I only see one in your pics.
And you were supplied with the new metal clips?
My instructions tell me to 'stitch it...'
Also, mine included some glue to stick somewhere, but I don't see you doing that.
Really helpful set of pics, thanks.
A.
back screen
Hi no worries, the job is easy if you take your time, however you will need two pairs of hands when you align the zips up, also theirs no hard part on the zip it's just material and that makes the job a tad bit more difficult Once you have finished the zipping you need the second piece of sticky tape to overlap the bottom of the zip where you can see it's been cut away. This sticky part is so that the cloth will fasten back and not come loose. It took me 3 hours but that was with messing about with the camera and Oh Yeah the fastener!!!!!!! was too big and i had to work out why the zip wasn't working at first, after looking at the same sort of zip on my ski bag I noticed that at the back of the zip their was very little play so I very gently altered the distance to make it tighter. I dont recommend you do this but it may be the only way left if your truly stuck Being an engineer it was scottie moment(star trek) and to hell with the consequences and lucky enough it worked the glue would be for the start of the zip but always consult your manufactures instructions, the big thing is you dont want to allow your starting point to come undone. Hope this helps, JIm. I would say that once you have done one you would be able to do it in around 30/45 minutes next time.
screen
The rear screen was bought through my local BM dealer in Chester, the price was £125 inc vat. I thought it better to go to the main dealer but I know you can get the same part over the net thats not a BM part. I've seen people on ebay saying these windows are £300 but for the record they aint The kit contains the window, the plastic knife, 2 staples and a piece of sticky tape to overlap the bottom section.
-
- Z Register member
- Joined: Sat 30 Jul, 2005 19:34
- Posts: 4054
- Location: Belfast
Flipside,
Congratulations on a job exceedingly well done by the looks of things. You are a brave man.
BMW Z3, the only way to build a true roadster
- The most powerful letter in the world.
Cloz wrote:There is something that will never change is my love for Z3
smartypants wrote:Conor?
With an M??
The World's gone mad
smartypants wrote:The Z3 rear is a great thing to behold
Easy
Thanks, but I did it because I couldn't find any information with decent pics on the net. It didn't look that hard and so it proved to be, any one could do this with the help of a friend. Like i said the only problem with the installation was the zipper being 1/1000th out. what I would say is if any one intends doing this maybe they should cover the boot with a blanket just in case