


Custom Sub Build - 15/02/2009

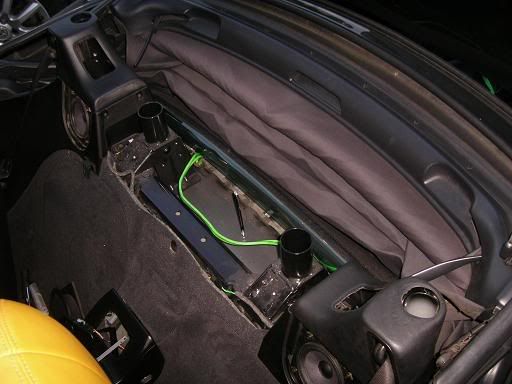
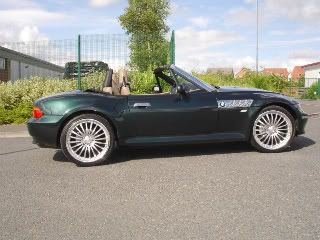
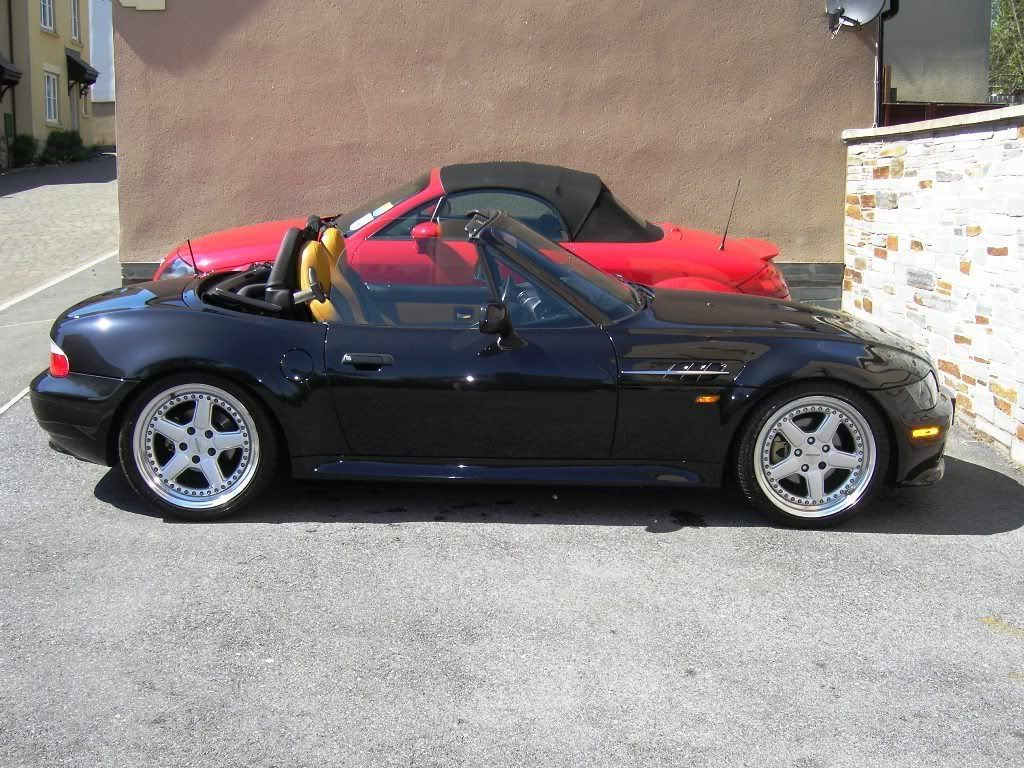
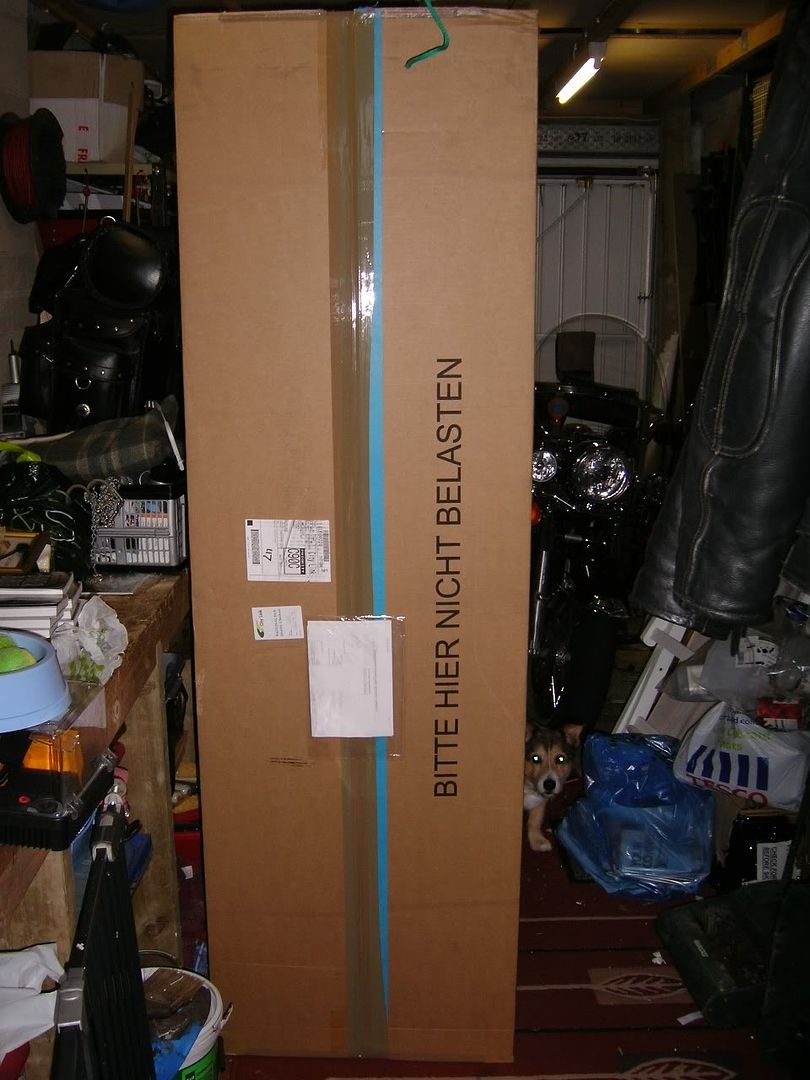
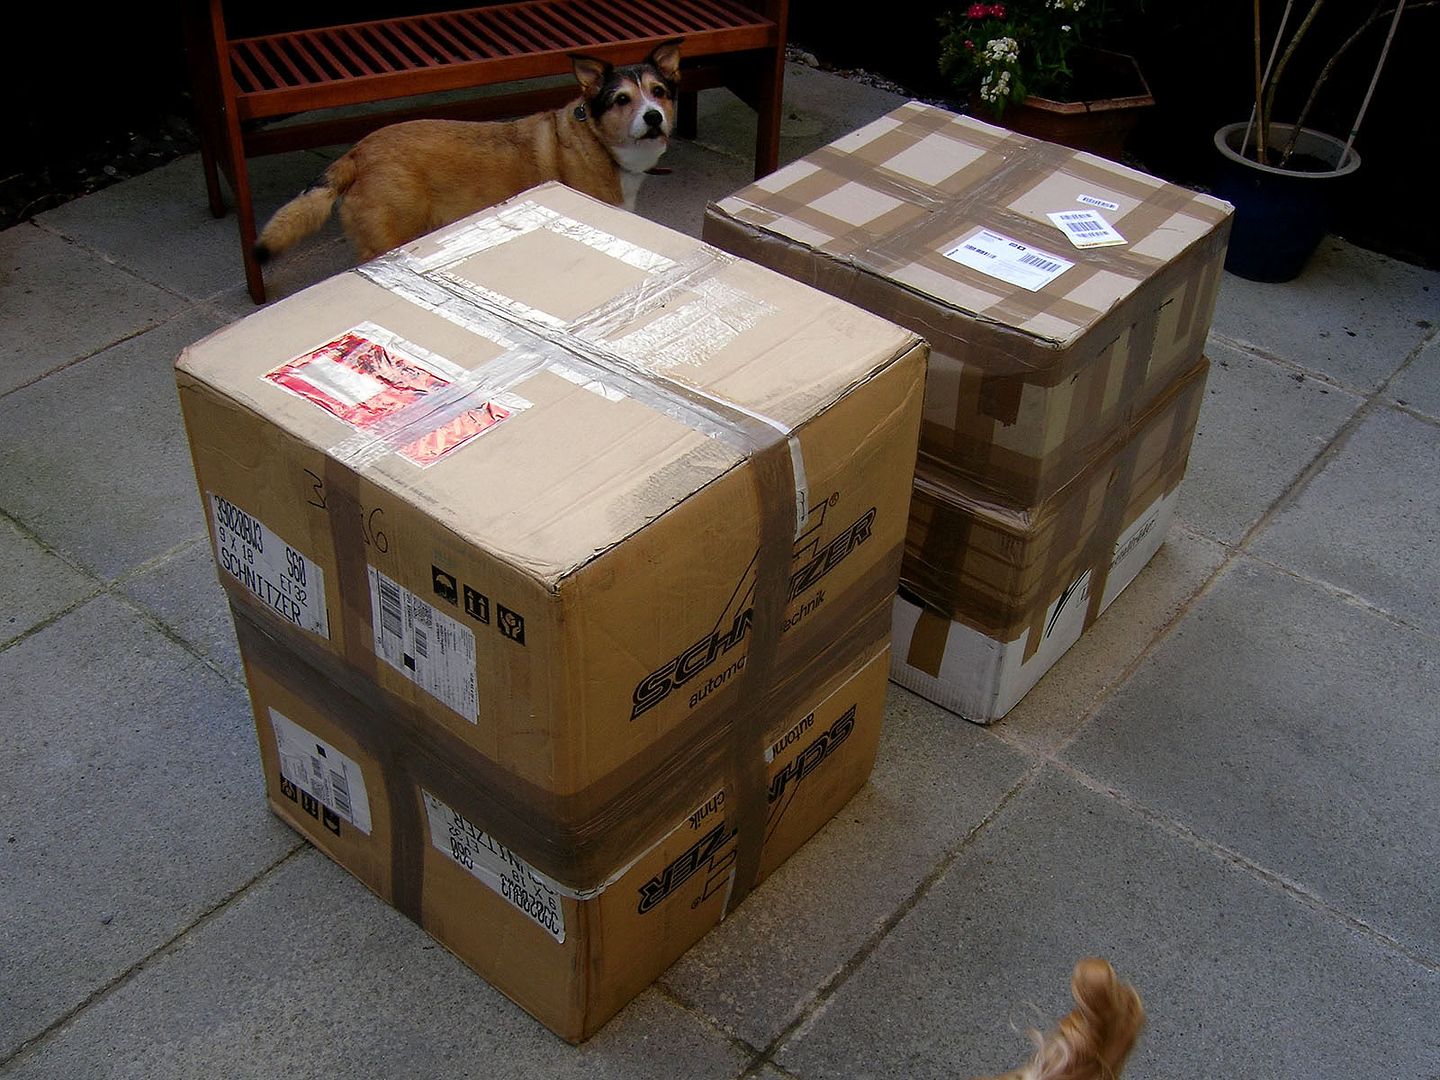
I was lucky enough to snap up the custom sub build from Z3roadster forum member 'Mikemac' earlier this month; following payment I arranged a courier to collect the unit from him and bring it down to sunny Cornwall.
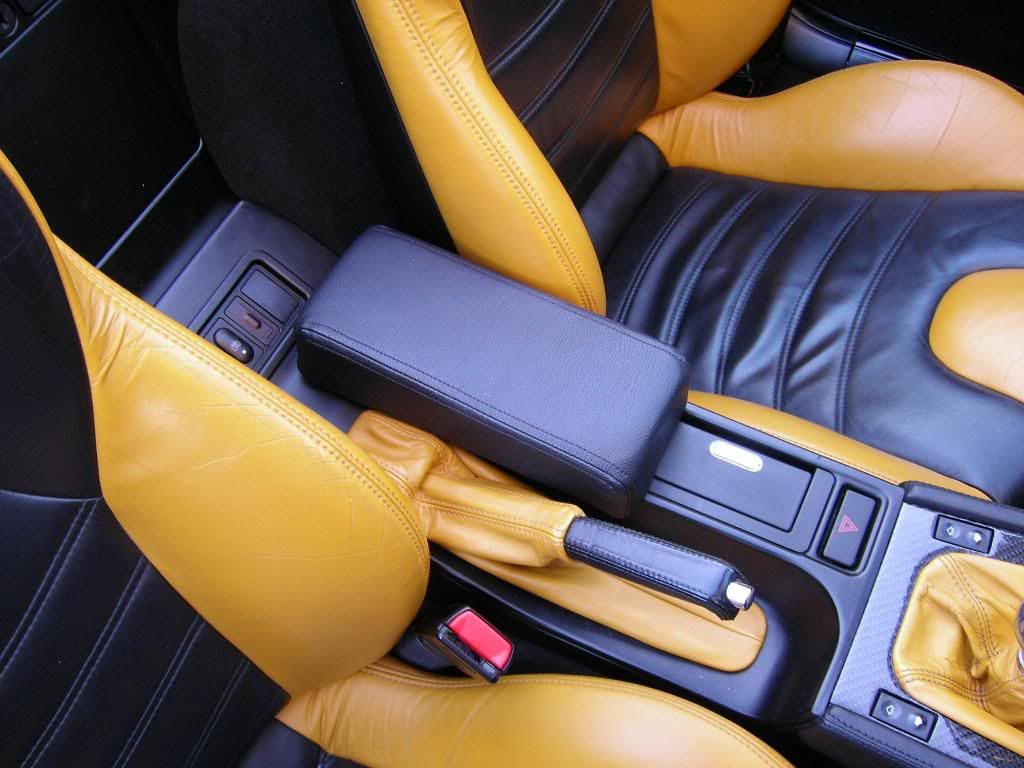
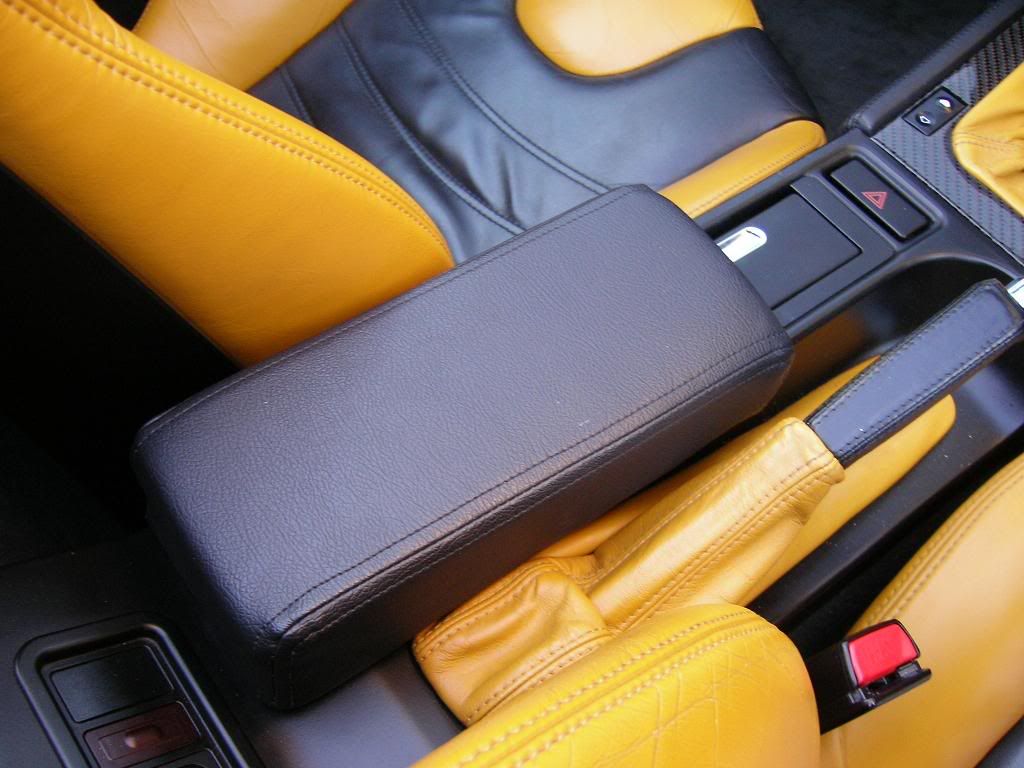
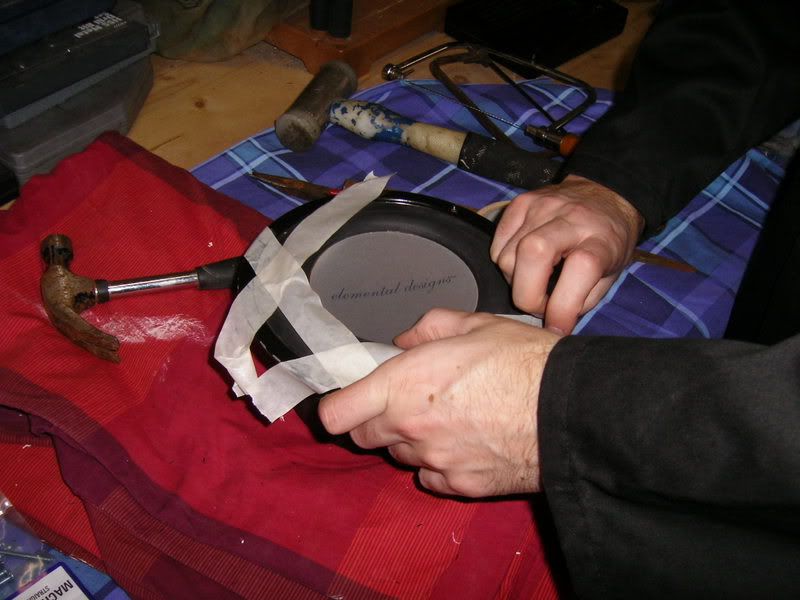
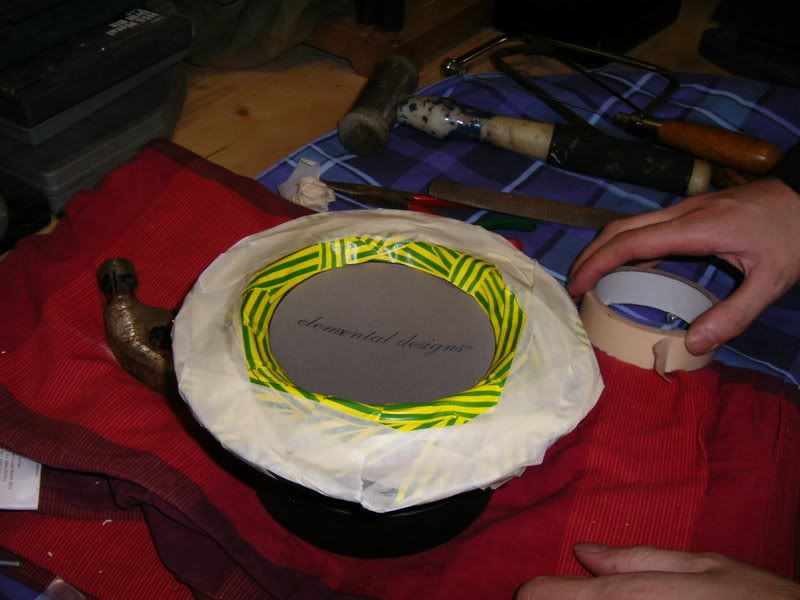
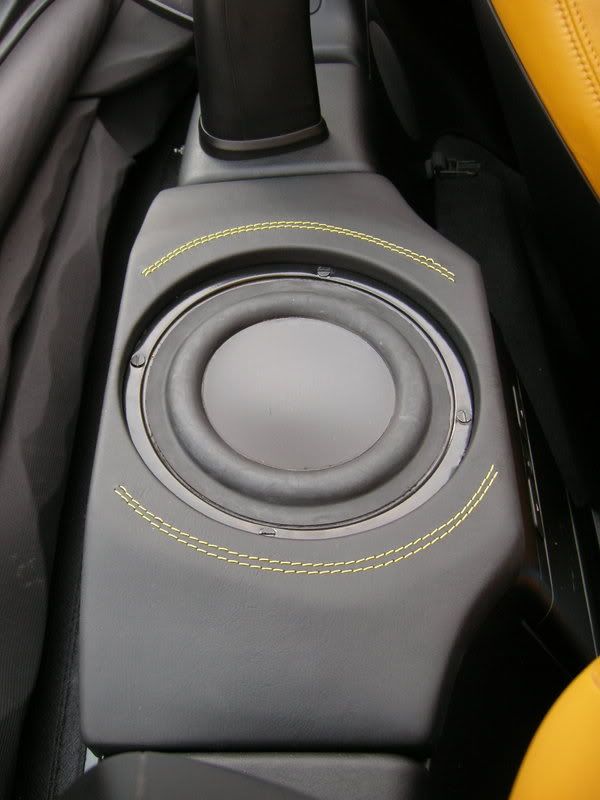
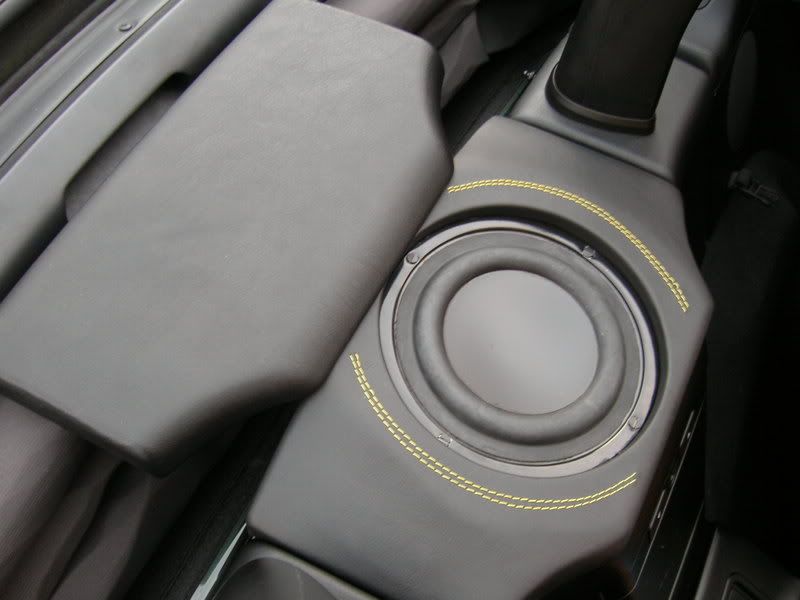
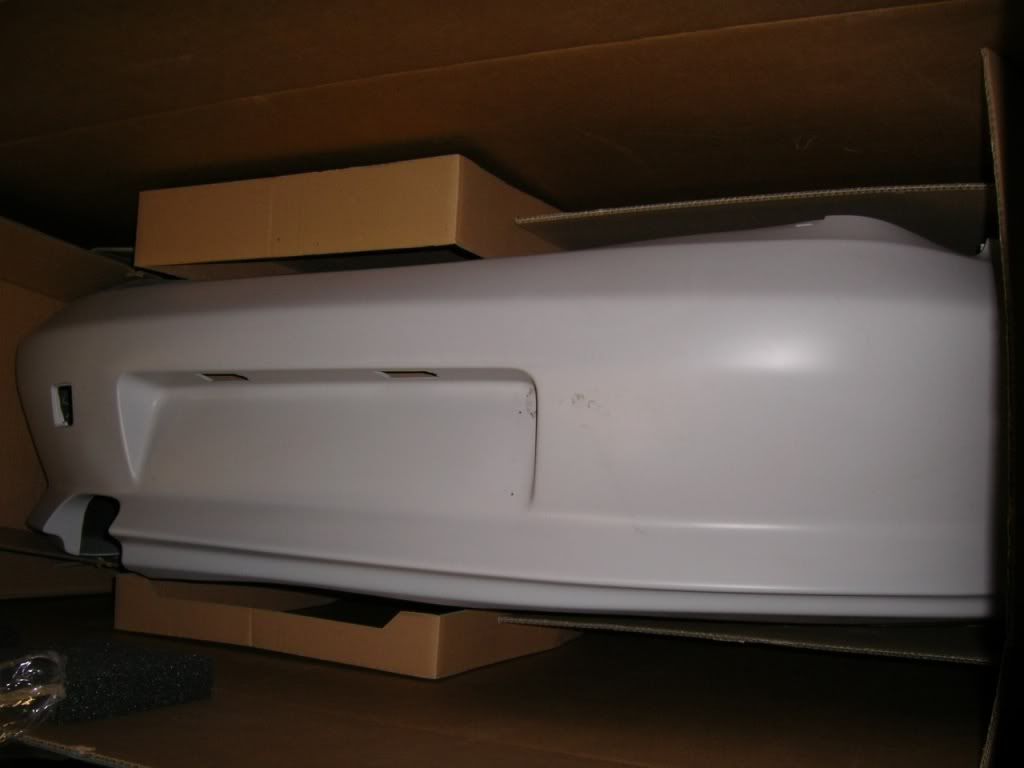
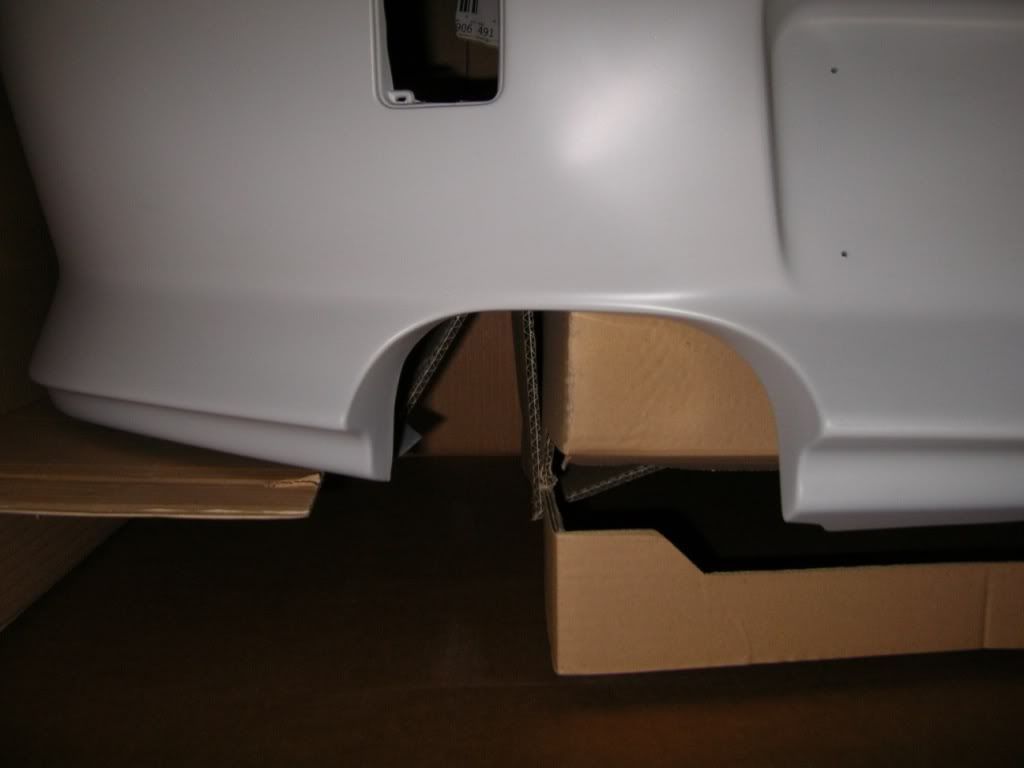
Upon arrival I decided to take some photos of how it looked.
(Click to enlarge)


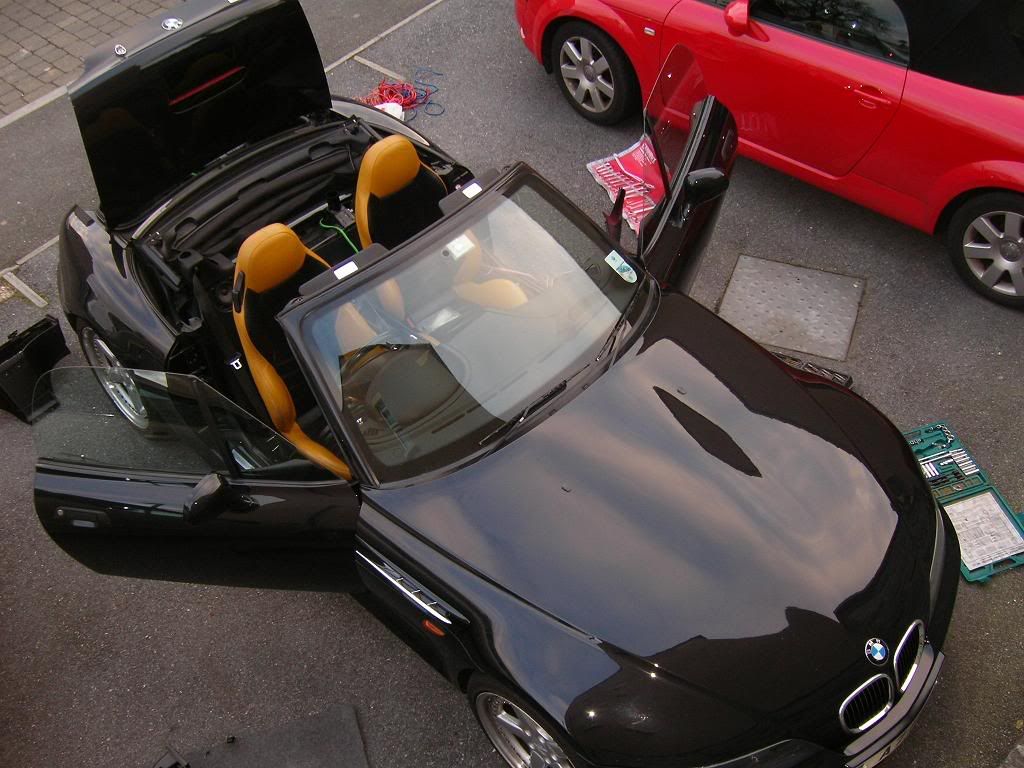
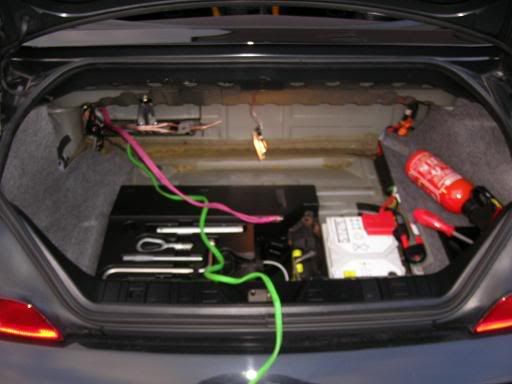
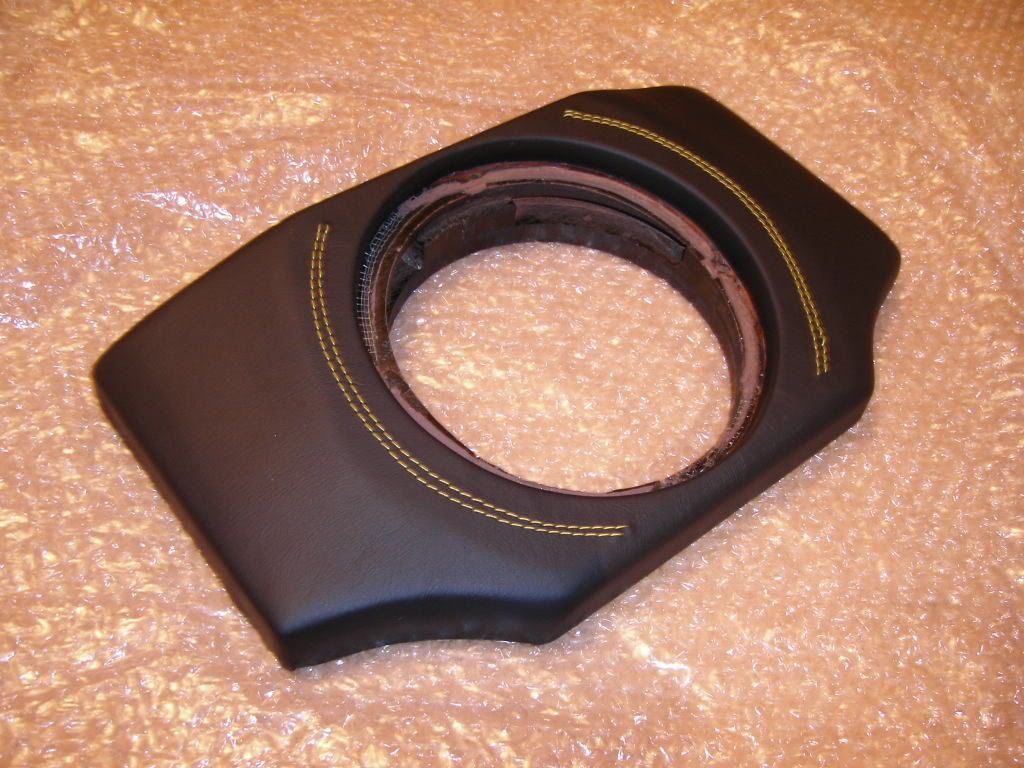
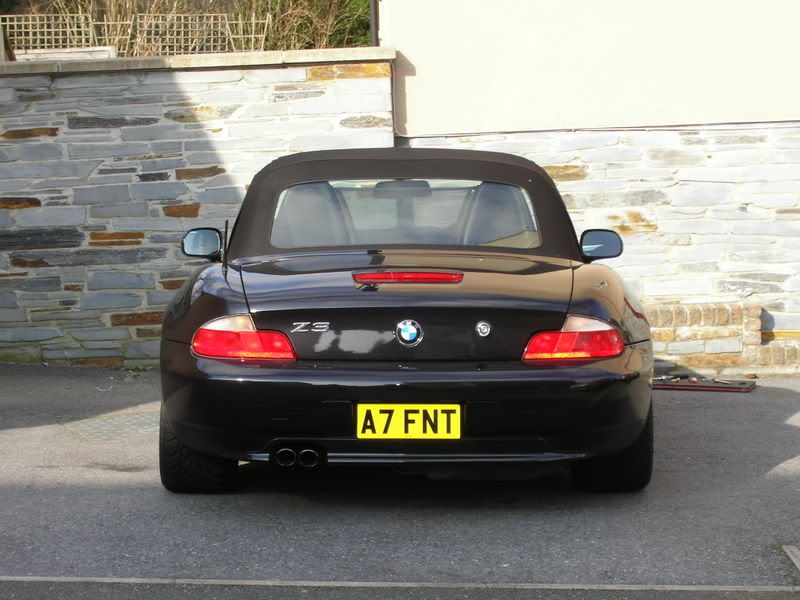
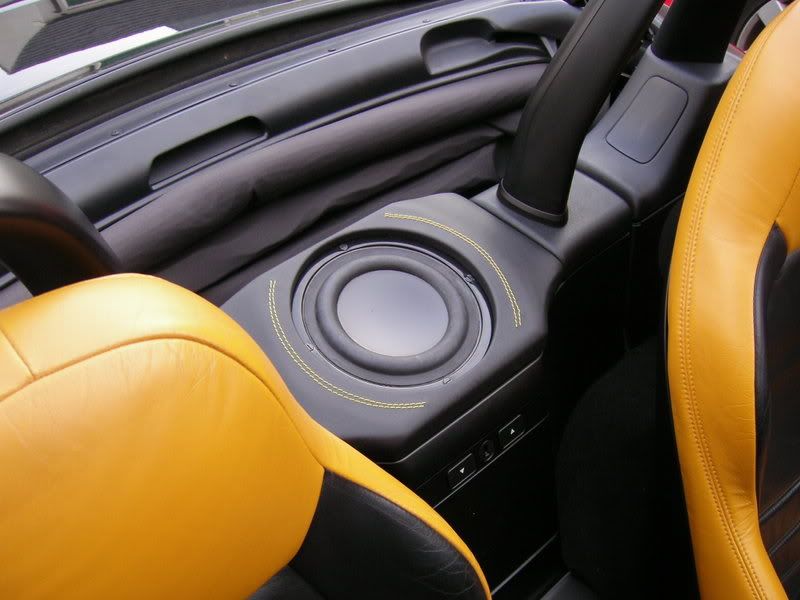
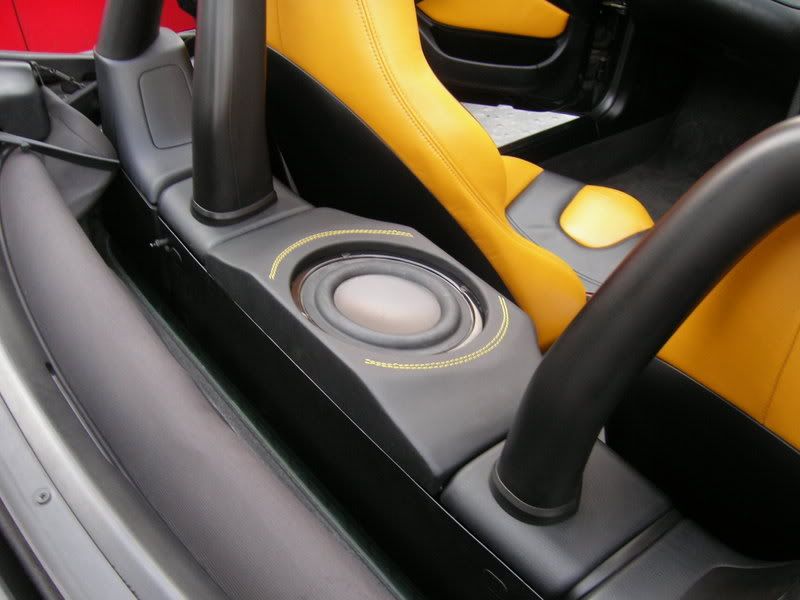
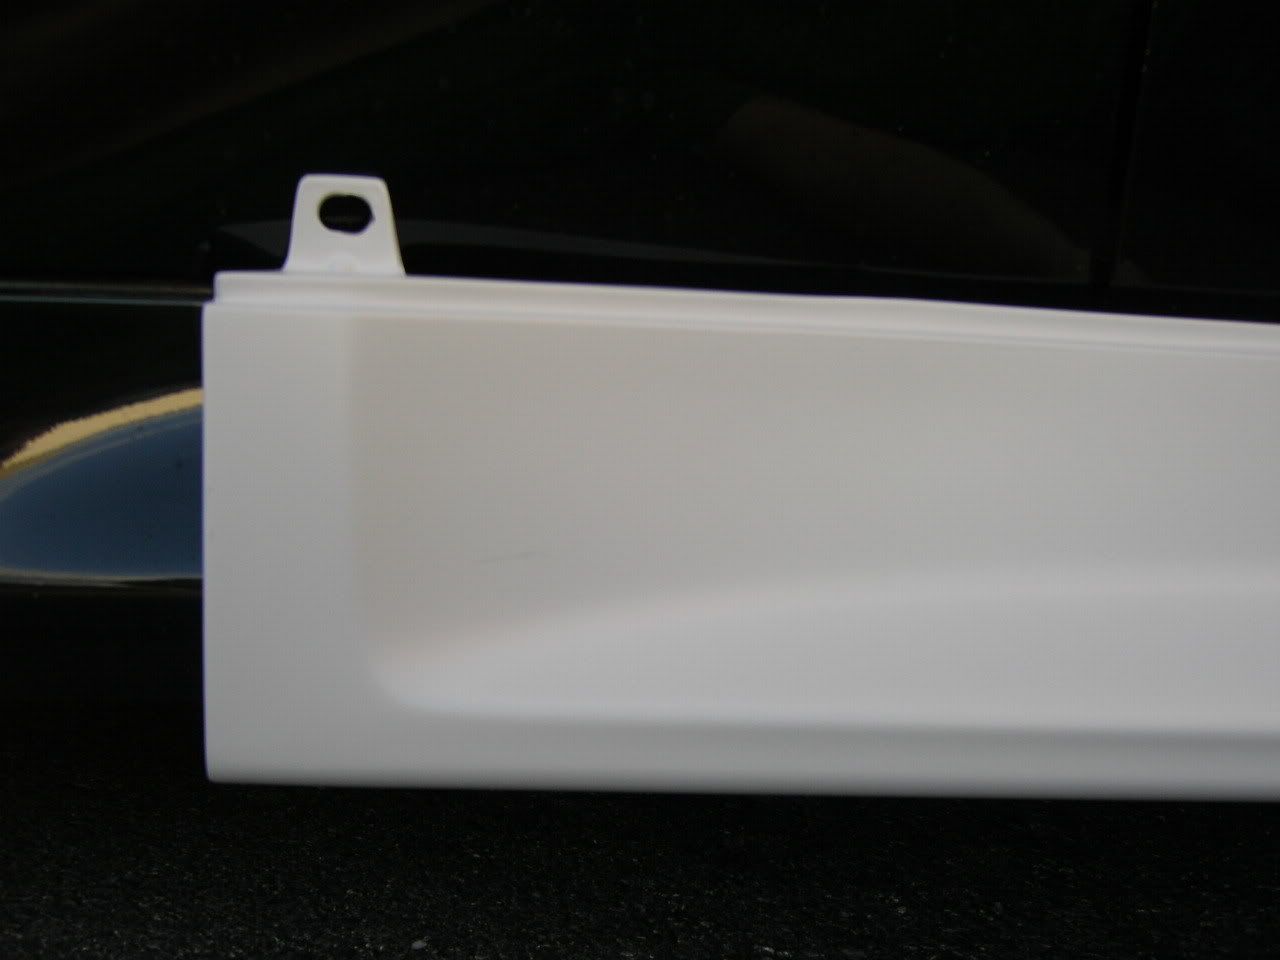
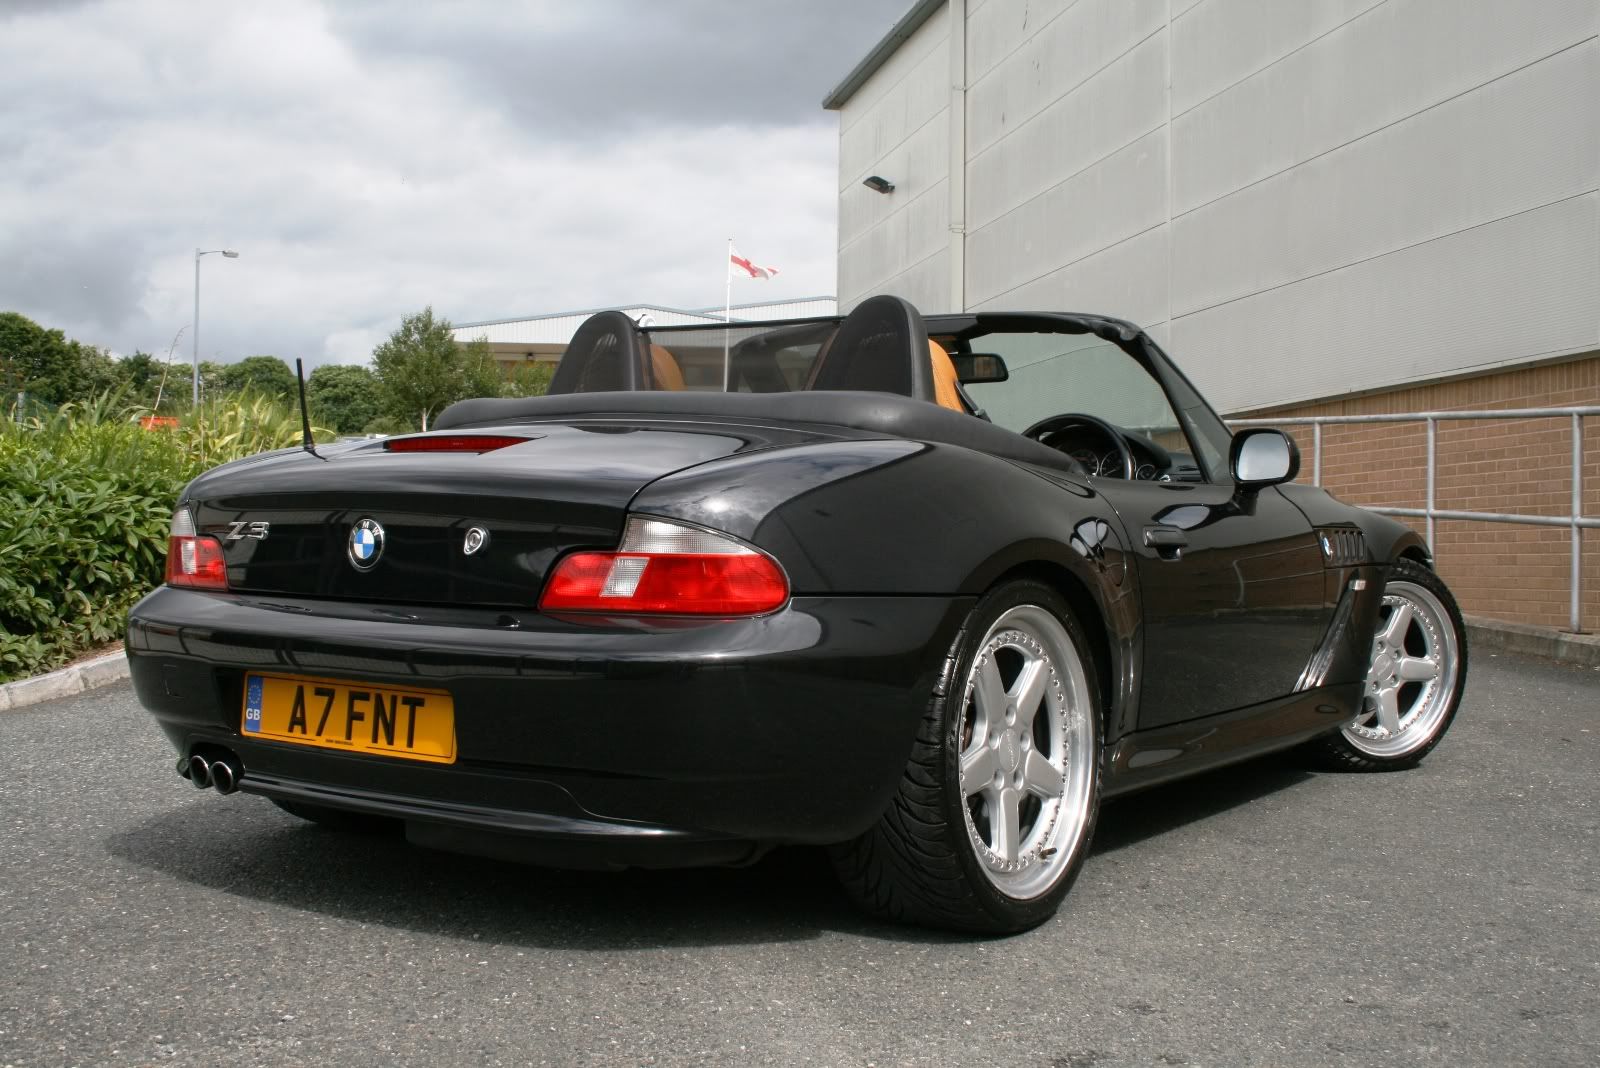
This is the OEM part it is to replace (rear glove box lid):
(Click to enlarge)

Needless to say, credit is certainly due to Mikes dad who did a sterling job at recreating the lines and fitment of the original rear glove box lid. I'm not particularly educated when it comes to acoustics, or audio products but I'm sure I can soon enough learn; however it seems fair to say that the Elemental Designs 6.5" subwoofer included in the sale certainly seems to fulfil my needs on paper.
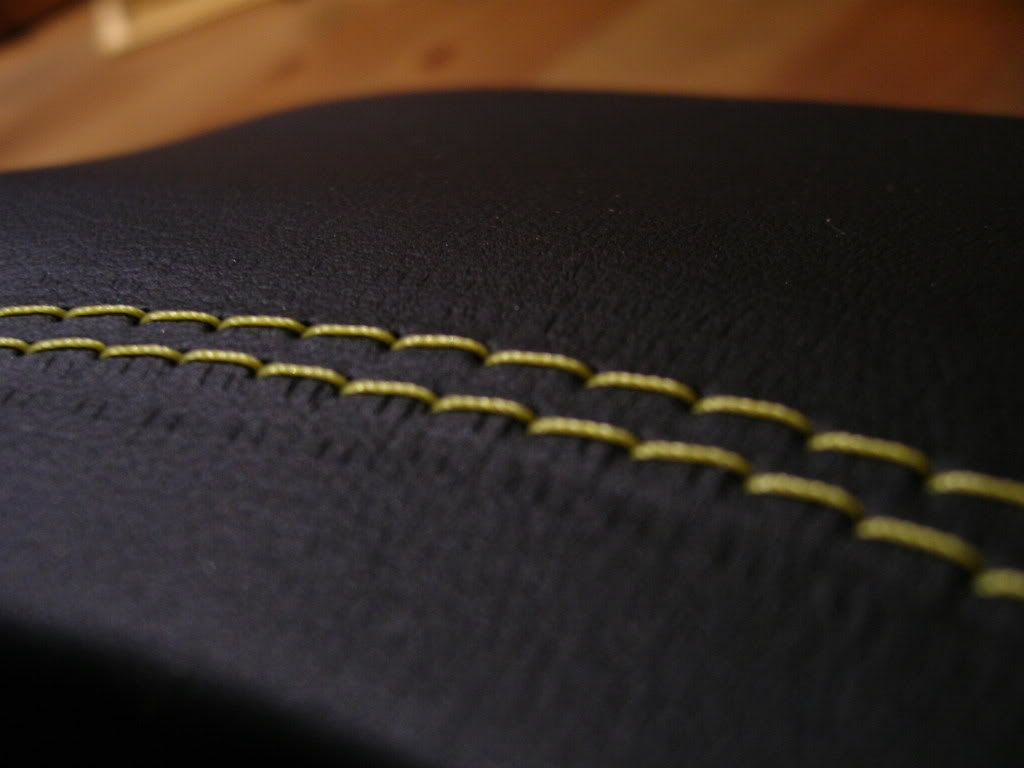
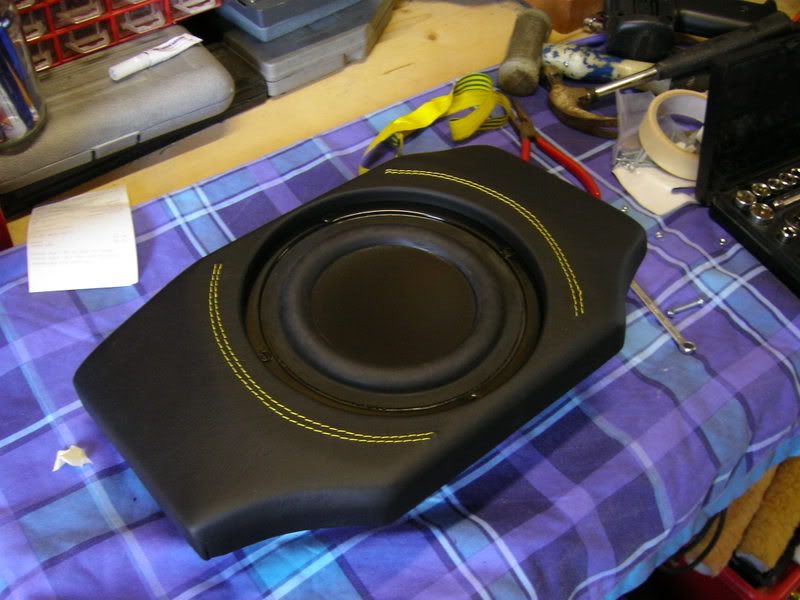
I promised Mike I'd look after the unit and in keeping with my word I can confirm that the unit has been received by Bespoke Leathering, Birmingham who are currently looking into trimming the unit in black nappa leather (as it is currently painted black) and the potential of adding some Arizona Sun coloured stitching around the perimeter of the sub recess.
I'll keep this thread up to date on the progress of the build.


