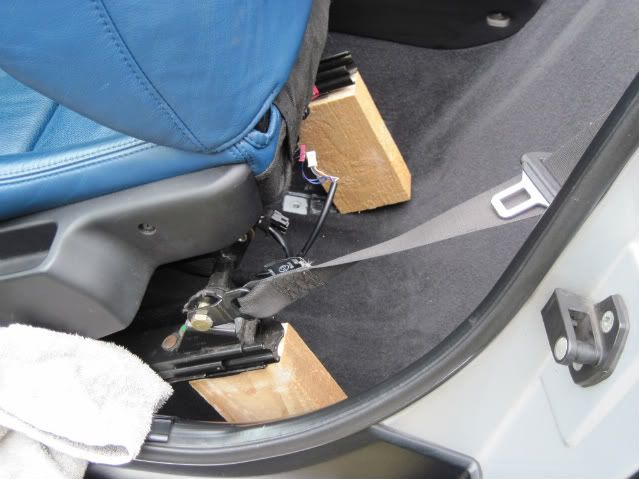
These help when removing seats working alone - access to the wiring without trying to hold the seat as well:
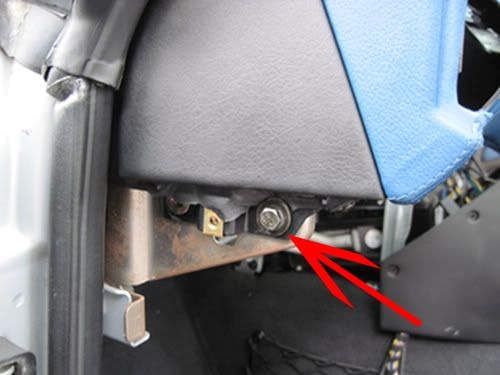
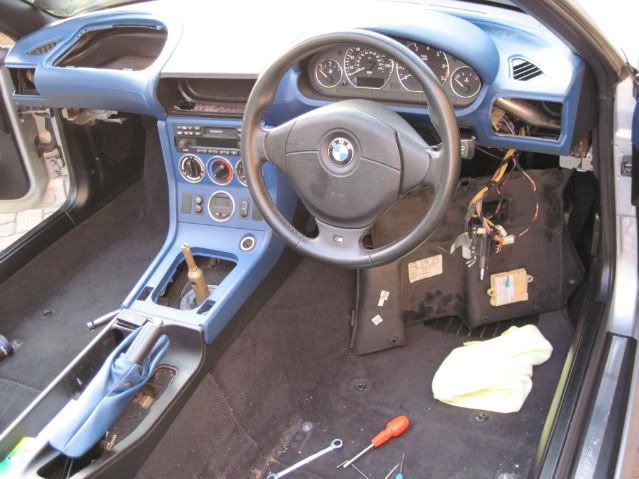
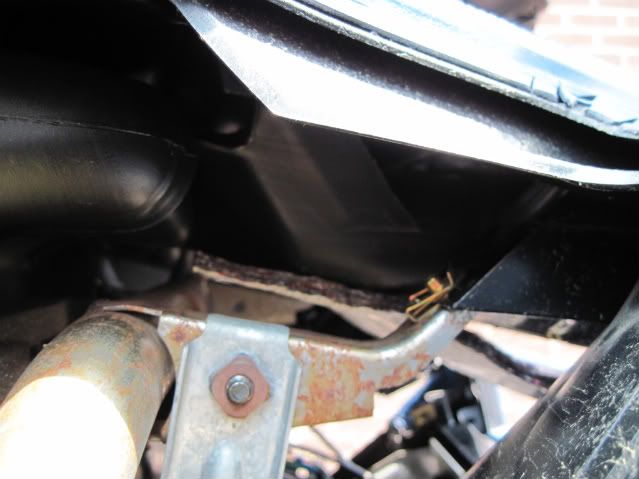
Driver's side - two problems here: one of the screws holding the airbag to the wheel will not undo at all - tried T20 & T25- the other one came off with a 4mm allen key. The connection to the diagnostic socket is rock solid - the locking bar slides across but can't get it undone.
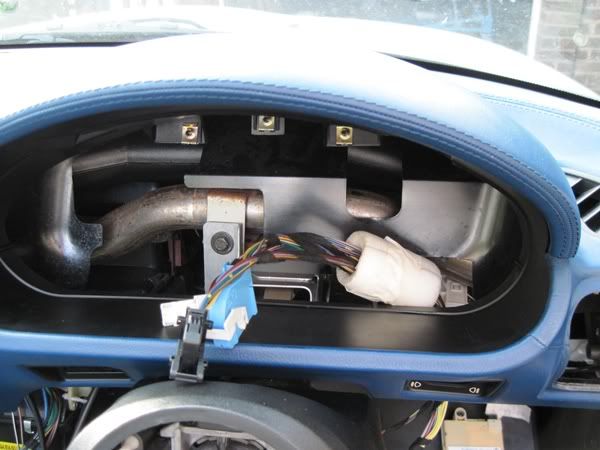
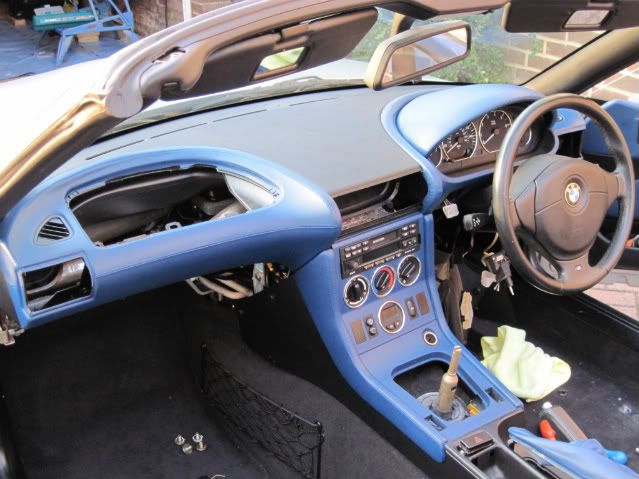
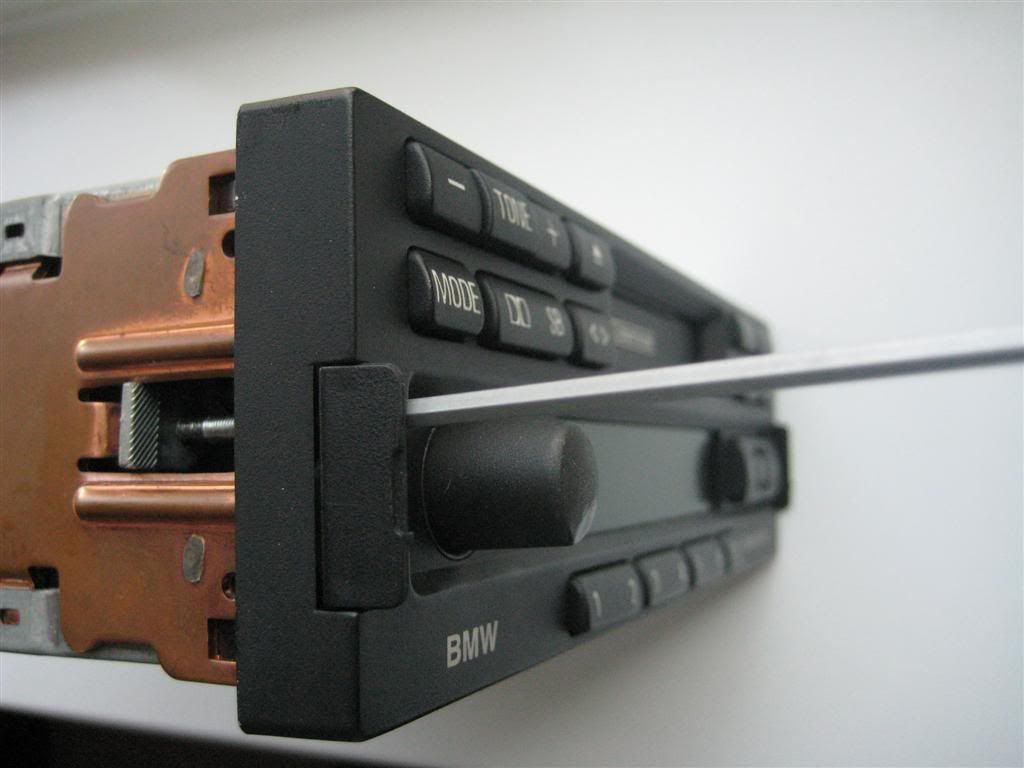
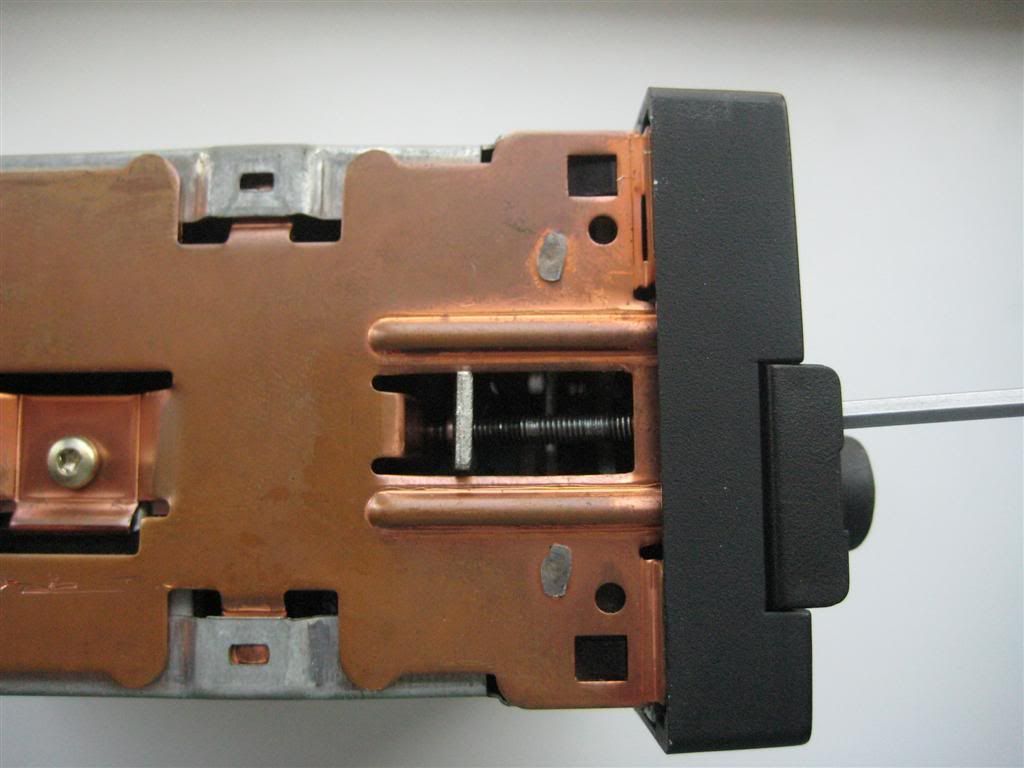
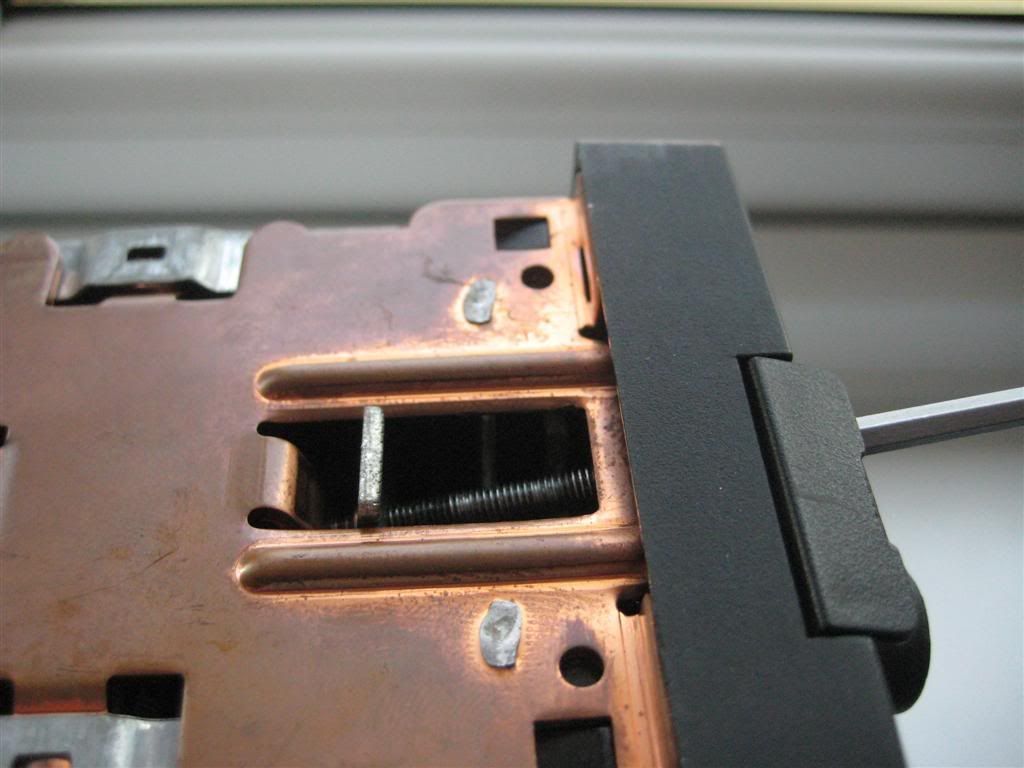
The passenger side was much easier and the only problem here is getting the radio out - I've tried 1.5mm and 2mm allen keys with no joy. Can you get the BMW (or equivalent) from Halfrauds or will I have to wait until Monday and go to the dealer?
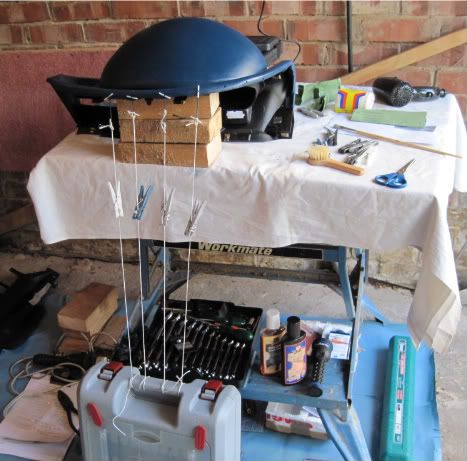
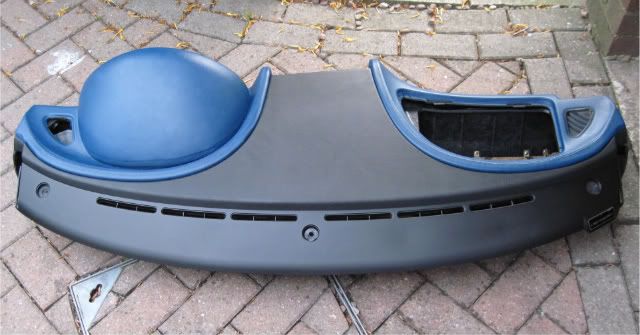
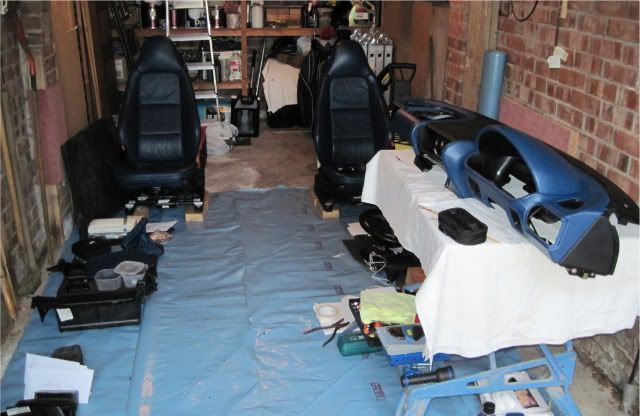
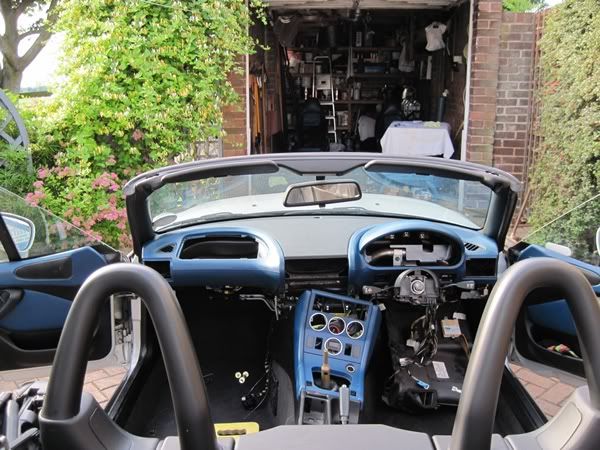
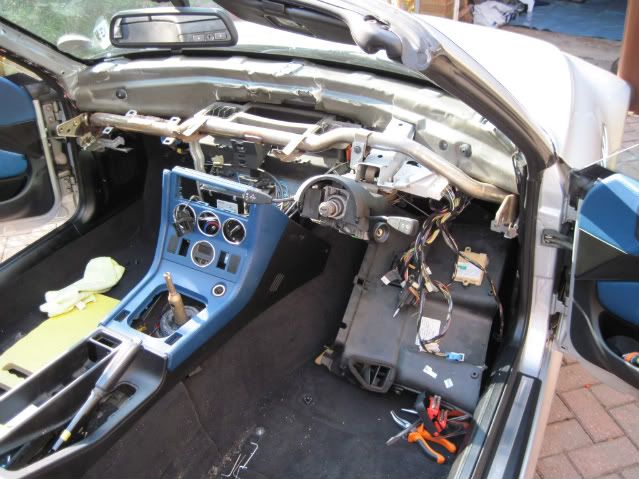
Looks like I'm building a Z3 in the garage

Any suggestions gratefully received - so far it's been a mixture of "that went well" and "just how does bl$$dy thing come apart".
About 4.5 hours so far - so not the quickest - to afraid of breaking something.


 ...........No Mods...... I like him just the way he is