


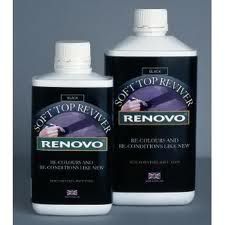
I used this
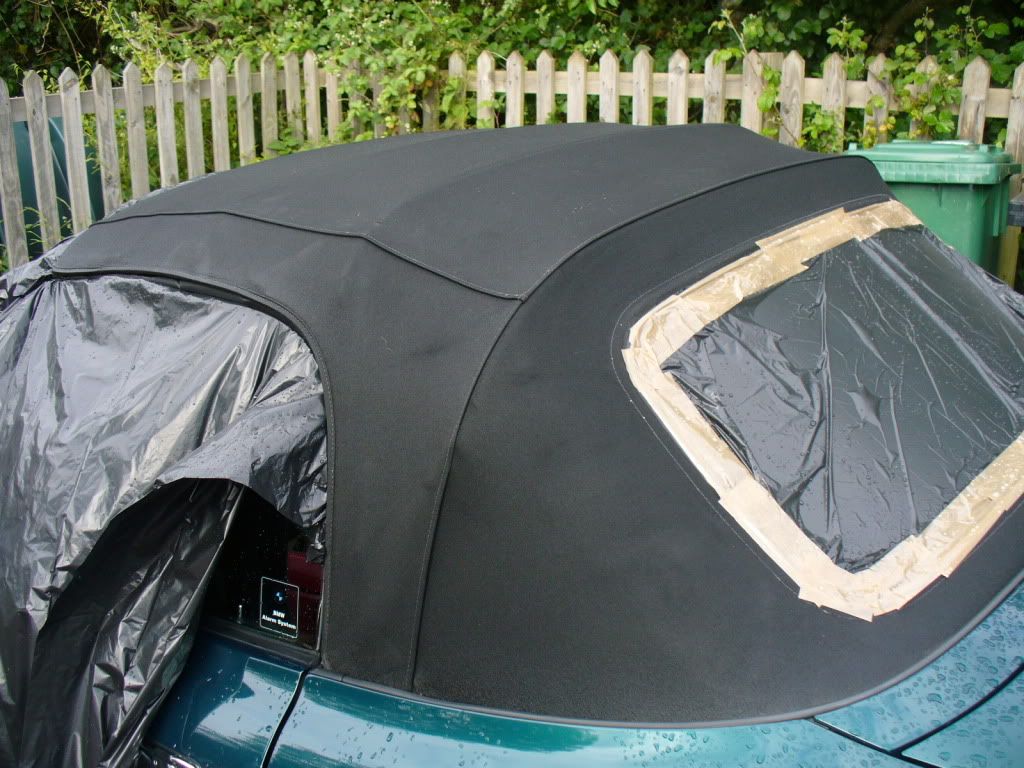
My hood was starting to look a little tired and furry

Not having the obvious benefit of a garage, I had to get this done in between the brisk winds and burning sun.
With excellent advice from Snoops, preperation is the key to a successful end result.
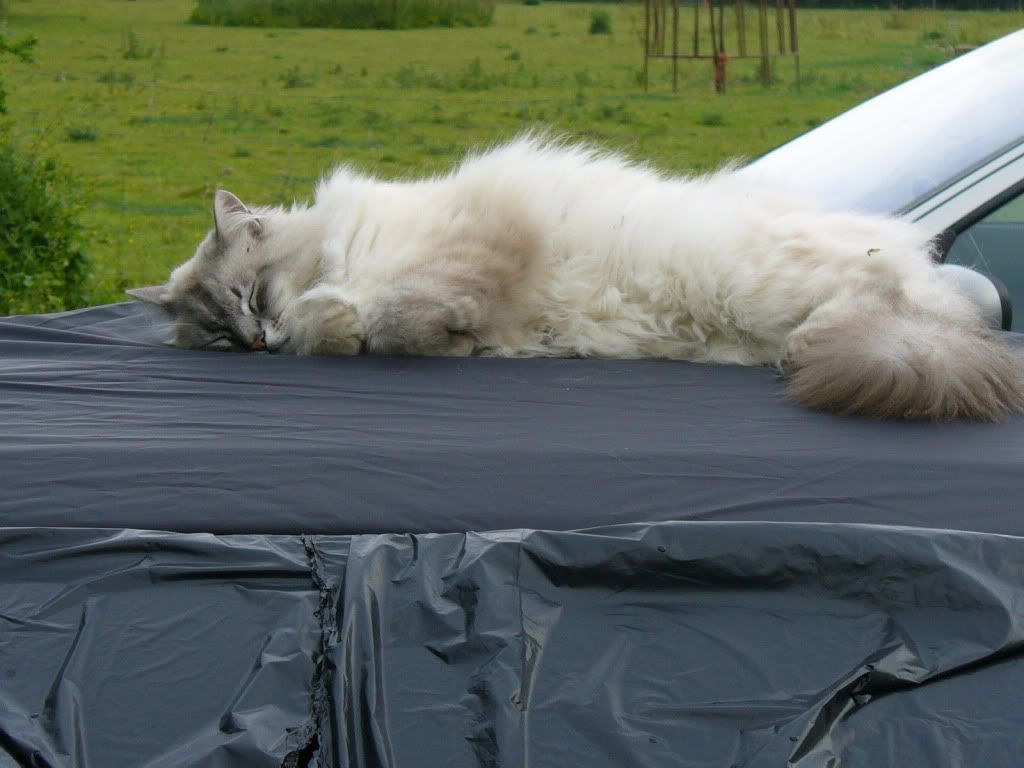
First I had to scare the cat away and vacuum the hood to remove dust, dirt and cat hair
After, give the hood a good clean with AG hood cleaner, don't get this stuff on the rear screen or glass. Thus, mask them off.
Next part of the operation was to let it dry, apply the hood cover
and leave over night
According to the product info and the testimony of people here, it's paramount to avoid any spillage of the dye onto the paintwork.
Apply the dye; with a good 2" brush but watch out as it's very runny. It's easy to apply with good coverage. I had to do this early morning while the car was in the shade, to avoid the dye drying out to fast and causing streaking.
I needed to apply two coats as my hood was fairly faded.
Now, despite being really careful, I still found black blobs on the paintwork
I didn't notice until the wrapping was removed and the dye had dryed. Panic set in at first and then I found that it came off real easy with a finger nail
So, top tip: grow a finger nail for this purpose or get your wife out there to do it for you
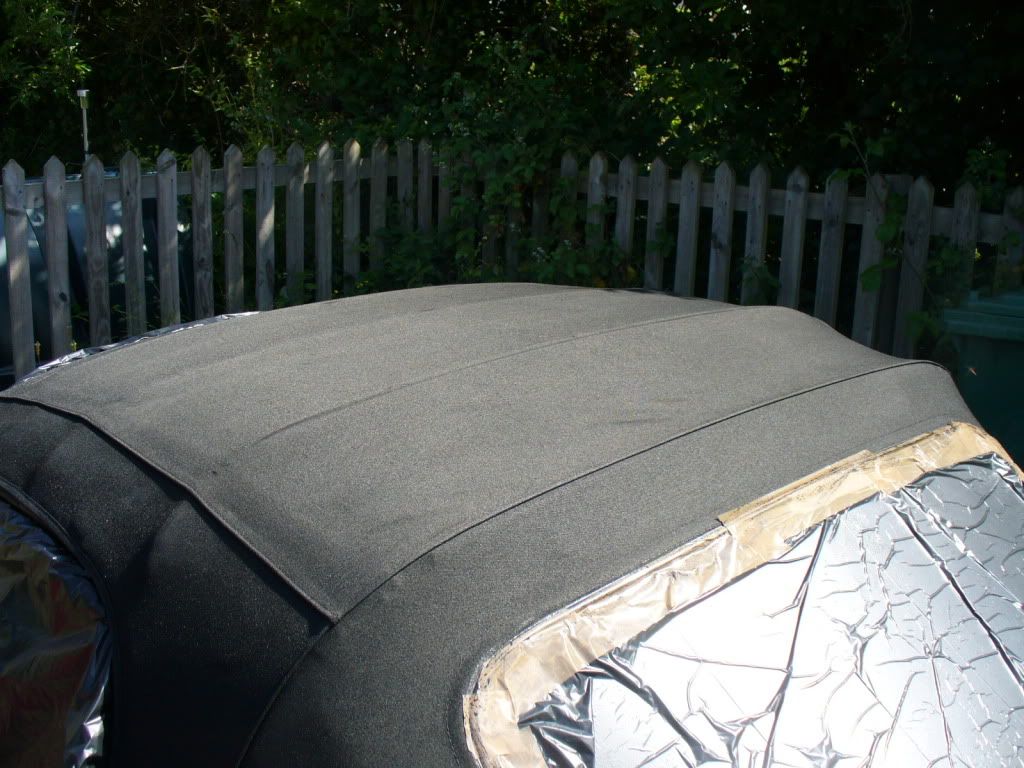
Finally, the next day I applied AG roof sealant.
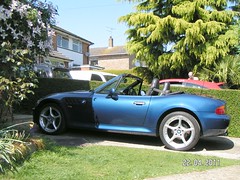
Now all is well and I'm pleased with the result.
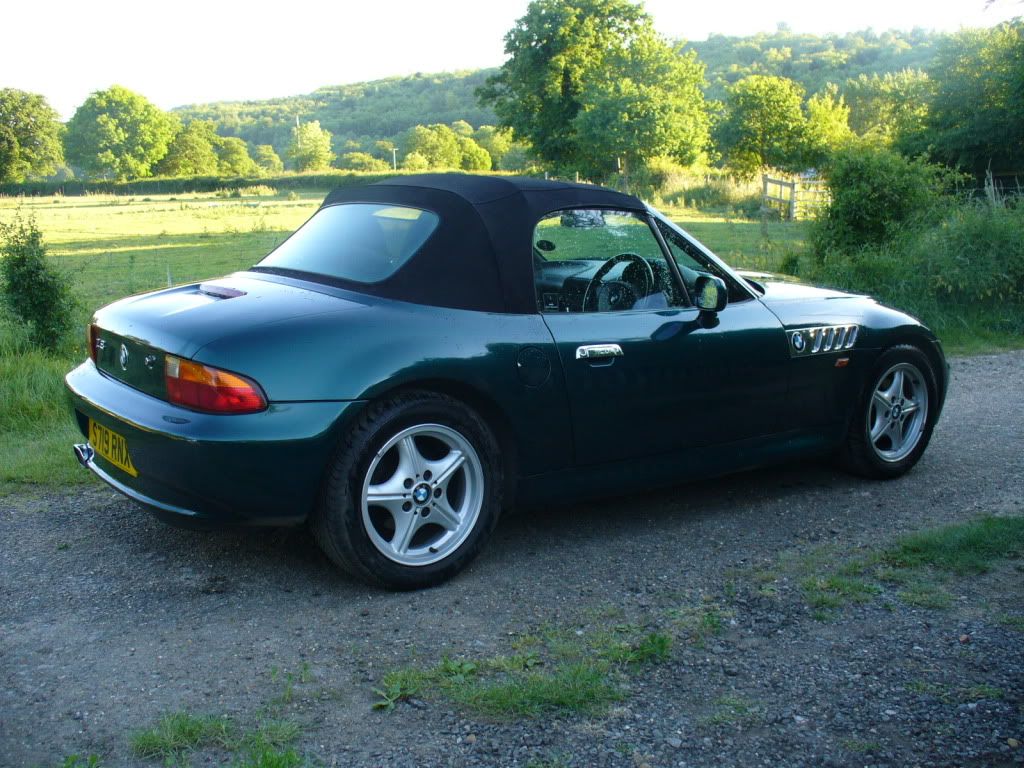
This pic doesn't do the end result justice
Saved me replacing the hood and it's very easy to apply.
So, don't worry about doing it.


 ...........No Mods...... I like him just the way he is

