

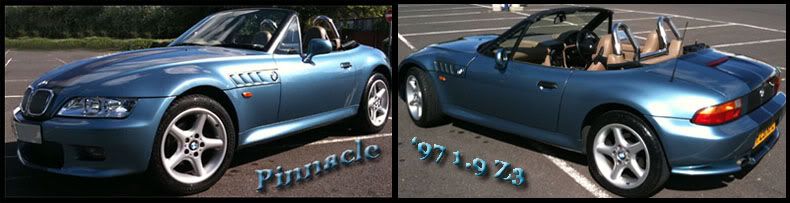
Car is a 1999 2.8L roadster, only had 78k on the clock, and I'm loving it so far - had the top down at every opportunity, and finding it so much fun to drive. Plus the noise it makes is so satisfying
Z3 with my (dirty!) Focus that it's replacing:

Z3 with the top down after I'd finished washing it. We've had a plague of greenfly around here the past few days, and the car was covered in dead bugs.

Already got a justroadster perspex windbreaker, thanks to reading about them on here!

The car does need a bit of attention to get it looking a bit better - I'm going to have the front bumper re-sprayed soon, as there are a lot of stone chips, cracks in the paint, and a few flaking areas too.
Also planning on getting some new alloys for it, as I like the look of 18" wheels on Z3s. I'm not a big fan of aftermarket alloys in general, so I'm keeping an eye on ebay for some BMW ones - I quite like the look of the MV2s.
Both tweeter grills are suffering from a bit of rust damage:

I was planning on cleaning them up and respraying them, but can't work out how to get them off. Do I need to take off the whole door panel?
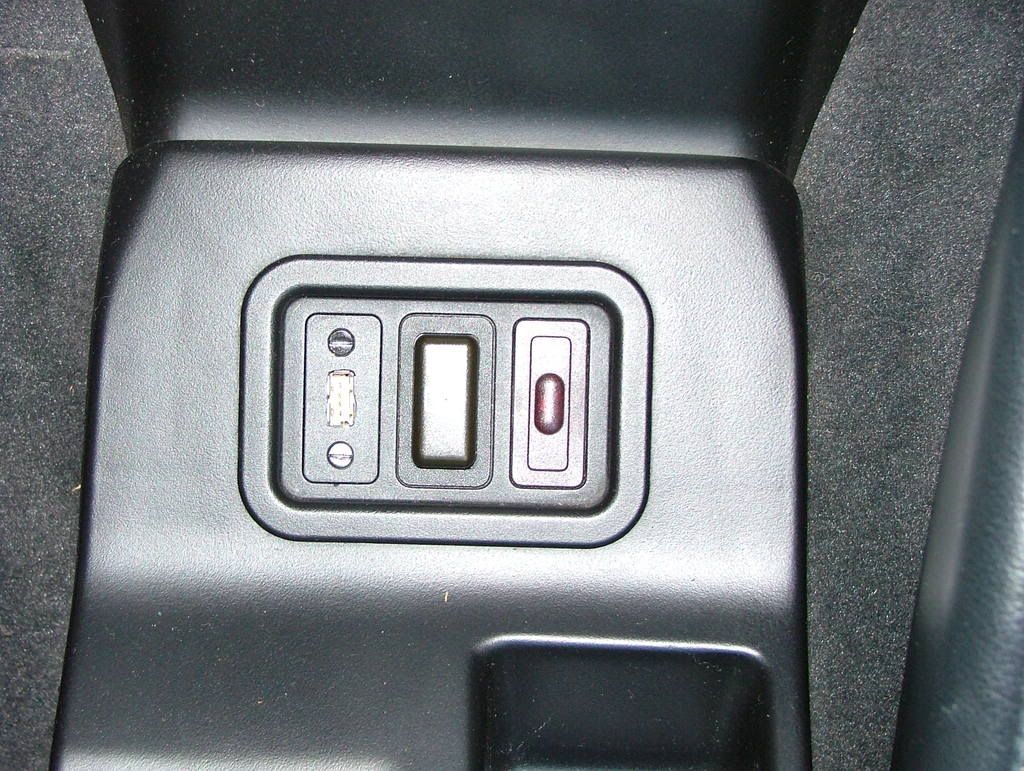
Also need to sort this out:

Does anyone know where I can get a new one? Been looking online, but can't find one anywhere.


 1998 Atlanta Blue 2.8


